1.26.2012

VALENTINE'S DAY ROUND-UP

Although I don't take Valentine's Day too seriously, I have to admit that it's a holiday that involves a lot of cute and pretty things. And it's a day to indulge in chocolate! The Dude and I have a tradition of going out to eat fish and chips on Valentine's. This year we'll probably go to our favourite place on Granville Island, where this tradition started.

Here's a collection of Valentine's Day themed items from some of my favourite indie online stores. I've bought items from each of these sellers before so I have no qualms about endorsing them.


These are all great items to give to someone you care about or to give to yourself!

On a final note, this will be my last blog post before we move to our new place! We'll be spending the entire weekend packing like mad elves. So I won't be updating my blog for a couple weeks while we get settled. Both of my shops, LAX TO YVR and Sugarpush Vintage, will be closed briefly. They will re-open in early February, once I get my internet connection set up.

1.24.2012

HANGING PICTURES SALON-STYLE

I've already started mentally decorating the apartment we're going to move into next week. I have to confess that I've been doing it since I first laid eyes on it, before we even knew we were going to move there!

But I've learned that it's wise to live in the space for at least three months before even beginning to decorate it. Ideally, it would be six months, but I don't think I can be that patient! But you really have to get to know a space by living in it for a while and getting a feel for it before deciding what your decor style is going to be. Our new place is so different from our current place that I don't think the same decorating strategy is going to work. So I'm afraid that I'm going to have to throw out my "Southwest modern" look and start from scratch.

One thing I know is that I want the place to feel a bit more cozy. But herein lies the dilemma. "Cozy" usually means clutter, at least in my opinion. I've noticed that cozy spaces usually have a lot of stuff going on. Coziness is typically achieved by creating layers of stuff upon stuff. And the Dude and I are very much against having a lot of "stuff." We're trying to live as lightly as possible so it's going to be a challenge to cozify our new apartment while at the same time maintaining a minimalist lifestyle. I'm aware that you can create cozy by carefully choosing texture, colour, and shape. So one possibitlity is painting the walls a warm colour. Another strategy is by having puffy furniture rather than leggy, airy pieces. Creating a cozy look with as little stuff as possible is going to be an exciting challenge!

So, even though I said that I don't want to start decorating until at least three months after we've moved in, I've already jumped the gun and have decided I want a salon-style wall in the dining nook. This is a great way to cozify a space.

There are several options for doing a salon-style wall (a.k.a. gallery wall) of pictures. You can do it symmetrically or asymmetrically. Symmetrical configurations tend to look more formal. You can also hang pictures from the top of the wall to the bottom or you can just focus on the centre of the wall.

Symmetrical gallery wall:

Gallery Wall at the Shore

Asymmetrical salon-style hanging:


Here's one that takes up the whole wall from floor to ceiling (plus, the black wall makes me weak in the knees):


I love this salon-style wall because it's so clean and un-cluttery looking:


I think it's really hard to pull off a well-curated gallery wall but here are some helpful guidelines:
  • Make the frames all the same colour or choose a common theme/colour for your images. Select either option to tie the whole thing together
  • Keep in mind balance, especially if you're using different sized frames. Distribute the size of the frames evenly. Don't make it "top-heavy" or "bottom-heavy," i.e. avoid grouping similarly sized frames all together.
  • Before nailing the pictures into the wall, trace them first on paper, cut out the paper, and stick them on the wall with tape until you come up with a configuration you like. Then proceed to nail the hangings on to the wall. After, pull out the paper from behind them. 
  • If you're going to arrange the pictures around the midline of the wall, make sure that the center of the whole arrangement is around 57 inches from the floor.

1.19.2012

ARRANGING WALL SHELVES


One important thing I learned about wall shelves is that you want the space between them to decrease as you go up. By the time I got this tip from the second Apartment Therapy book, I had already put up the wall shelves in my office. I had initially spaced the shelves evenly apart; if you look at the "before" photo you can see that the space between the top and middle shelves actually looks bigger than the space between the middle and bottom ones. It's a visual distortion, and that is why it's crucial to arrange the top shelves closer to one another in order to compensate for it. When I realized this, it bugged me to no end. The Dude told me to just accept it and move on. But it seriously ate away at me.

Finally when I repainted the walls last fall, I took the opportunity to lower the top shelf by just an inch. It's amazing how just one inch made all the difference in the world! I could finally look at the wall shelves and be at peace. I mean just look at the "after" photo. The shelves look so much better and evenly spaced out!

Another tip I learned by simply looking at a lot of wall shelves on the internet is that you want to place less items on the shelves as you go up. I noticed that the best stylized wall shelves are the ones that don't even hold anything on the top shelf - they are simply left empty! You want to create a sort of a pyramid effect when arranging things on wall shelves, i.e. going light to heavy from top to bottom. It mimics how things are arranged in nature (e.g. think of cascading waterfalls) and so our eyes find it visually appealing.

Below is a set of wall shelves in our own apartment. Not the best stylizing job but I tried to mimic a cascading effect.


Here are better examples of well arranged wall shelves.


from Freshome


from The Brick House

Of course, rules are meant to be broken. Here's a set of wall shelves I love that disregards everything I just wrote.


from Manhattan Nest

1.16.2012

SHOP UPDATE: "I'M OK" BURLAP WALL DECOR


So excited to be sharing my latest creation with you! I just added to my shop this new burlap wall decor item with the phrase "I'm OK" painted in a bold uppercase sans serif font. The inspiration for this came to me shortly after I designed the LOVE piece. I wanted to make another wall hanging with a positive, inspirational message. Every morning I read one entry from a book called Don't Sweat the Small Stuff...and it's all small stuff by Richard Carlson to remind myself that when problems arise or when I'm challenged by difficult circumstances, it's really all okay in the grand scheme of things. The book helps me to keep things in perspective so that  I don't make life to be a big emergency all the time. And today's reading was coincidentally very relevant! It was about self-acceptance and this was my favourite quote: "I may not be perfect, but I'm okay just the way I am."

You can find the "I'm OK" burlap wall decor listing in the LAX TO YVR shop.


Also, there's a chance to win this item in a giveaway contest being held on the CAMP + QUARRY blog! CAMP + QUARRY is run by fellow Vancouverite Sarah, a talented jewelry designer. I'm a big fan of Sarah's blog, and I'm so excited that she's hosting this giveaway. Be sure to also check out the lovely CAMP + QUARRY shop, which features jewelry made with raw crystals. You can enter the contest here.

1.12.2012

HOW TO CLEAN STERLING SILVER THE EASY AND FAST WAY


Sterling silver jewelry is my favourite kind to wear. But in the past I avoided buying it because I hated that it tarnished. Because I didn't know how to clean silver well enough to bring it back to its former pristine condition, I would just chuck it aside and never wear it again.

Then I discovered a simple, safe, and effective method for cleaning sterling silver. So now I have no qualms about buying and enjoying silver jewelry. 

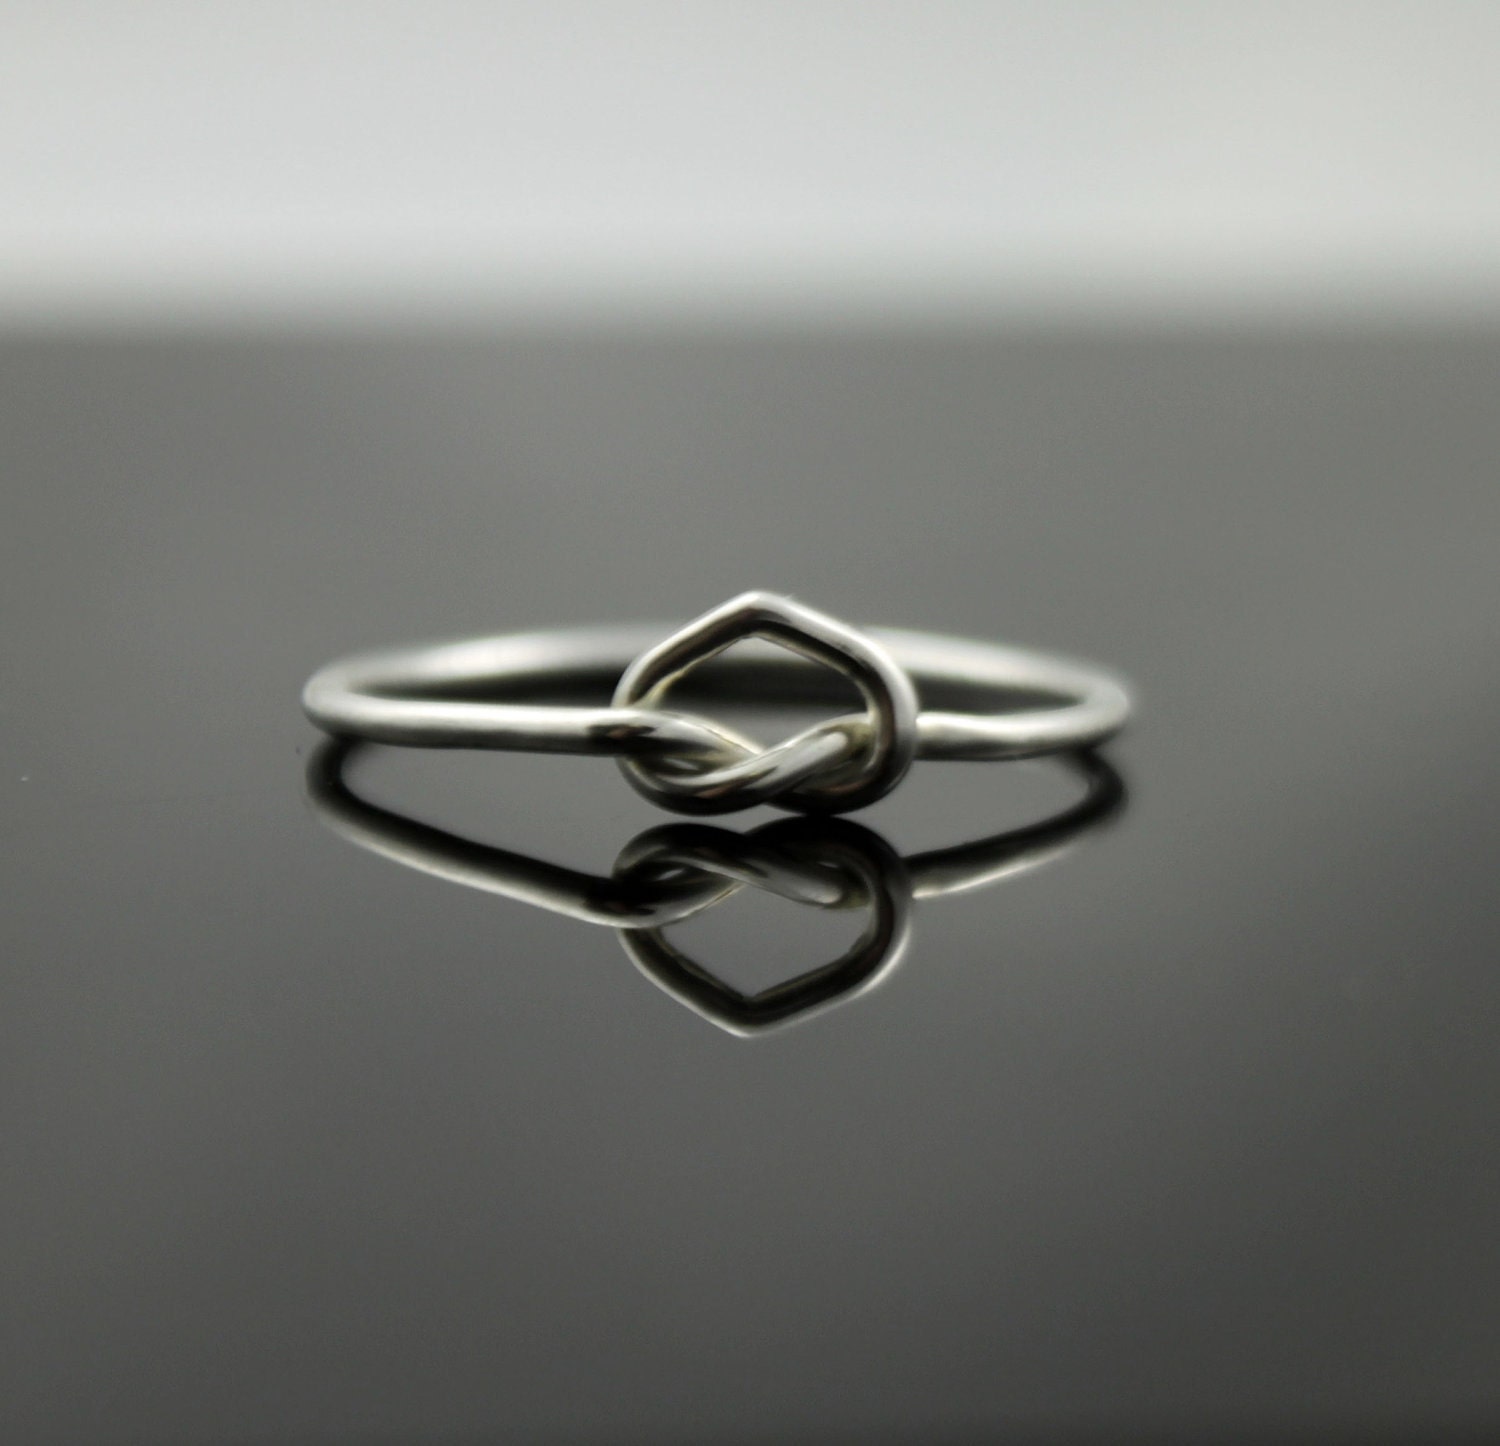
Here's a pair of earrings that had tarnished and needed cleaning. See how fast and easy it is to get them looking perfect again using the method described below. 


Supplies:
- Non-metal bowl (glass or plastic works well)
- Piece of aluminum foil big enough to line your bowl
- Baking soda
- Chopstick or any other wooden/plastic utensil


1. Bring to boil enough water to fill about half the bowl.


2. Line the bottom of the pan with the piece of aluminum foil.


3. Place a heaping teaspoon of baking soda on the foil, and fill the bowl with water (about halfway is fine).


5. Drop your jewelry into the bowl, making sure it touches the foil. Water will start to fizz and there will be a slight sulfurous odour. 

6. Leave the jewelry in for about one minute. Then fish it out with a chopstick or plastic utensil and wipe dry with a piece of soft cloth or kleenex. 


Looks brand new, doesn' it? Now this method of cleaning also works for other items made out of sterling silver such as wire baskets, silverware, and any other housewares made out of silver. 

What I love about this way of cleaning is that you can do it with items you readily have in your home. It doesn't require buying jewelry cleaners and other nonsense. Plus, this method won't damage the silver and it's super quick and easy! 

One last tip: in order to prevent your silver from tarnishing make sure to store it enclosed in a box when not in use. Oxygen is the enemy of silver! It's what causes silver to tarnish. 

1.09.2012

SHOP UPDATE: "LOVE" BURLAP WALL DECOR


I'm happy to return to blogging after taking a much needed hiatus. My arms are feeling better, but I still need to work on a more ergonomic set-up for my workspace.

I finally added something new in the LAX TO YVR shop! Love is such a positive message to be reminded of, isn't it? It was so nice to work on a design other than alphabet letters and painting in a colour other than just black. This piece really looks great in a black frame. You find can the listing for this item here.


In personal news, we found a new place to live next month! After waffling for over a year on whether to move or not, we finally took the plunge. Our search took over two months, but hopefully this new apartment will prove to be worth all the time and trouble it took to find it. I look forward to decorating a new place! You'll see the progress right here on the blog :-)